Milk and Honey Soap Recipe
Liquid & Lye Portion:- 9 oz (255 g) milk*
- 1 oz (28 g) water
- 4.05 oz (115 g) lye (5% superfat)
- 14 oz (397 g) olive oil
- 7 oz (198 g) coconut oil
- 4 oz (113 g) sunflower oil
- 2 oz (57 g) shea butter
- 2 oz (57 g) sweet almond oil
- 1 tbsp (15 ml) honey
- 3 tbsp (45 ml) water – for hot process version only
* For cold process soap, you can decrease the amount of milk from 9 oz (255 g) to 8 oz (227 g) so it will firm up faster in the mold.
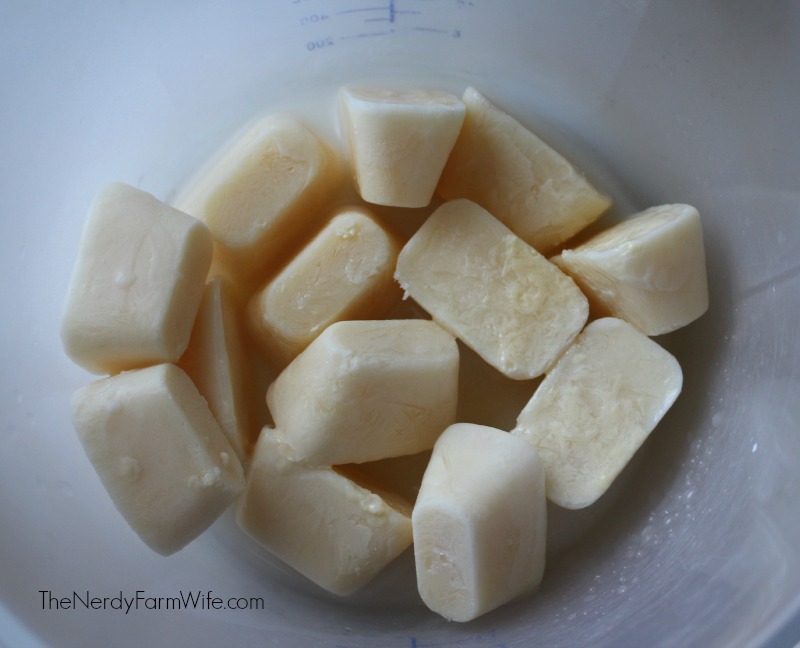
Step 1: Weigh out the milk and freeze it in ice cube trays overnight. You can use goat or cow’s milk, fresh or canned. Canned milk is concentrated and should be diluted with equal parts of water before measuring out to freeze.
Step 2: Place the frozen cubes in a heat proof plastic or stainless steel pitcher or container. Add the water.
Step 3: Wearing safety goggles, gloves and long sleeves, weigh out the lye and pour it into the pitcher of frozen milk and water. Pour a little bit at a time, stirring well after each addition until the lye is fully dissolved into the milk. At this point, the milk will probably smell a bit like ammonia. That’s normal, but try not to breathe in any lye fumes. Set aside the lye solution for around 10 minutes, while you prepare the oils. The temperature will probably drop to around 90 to 100°F as it sits.
Step 4: Weigh the coconut oil and shea butter into a small saucepan. Melt gently over low heat, keeping a close eye on it. Weigh the other oils into your soap making pot or container and then pour the melted oils into there too. The melted oils should bring the temperature to around 90 to 100°F, though you don’t have to get too hung up on trying to make the temperatures match.
Step 5: Now, you’re ready to mix! Working carefully and still with gloves, goggles and long sleeves on, pour the lye solution into the oils. Stir by hand for around 30 seconds then begin mixing with an immersion (stick) blender. Do not use a hand mixer – you want a stick blender.
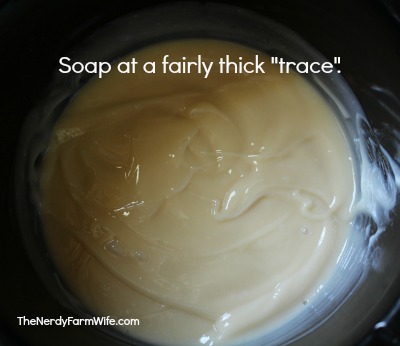
Step 6: Blend for around 30 to 40 seconds, then hand stir with the motor off for 30 to 40 seconds. Alternate until trace is reached. “Trace” means that your soap batter has gotten thick enough so that when you drizzle some of it across the surface of itself, it leaves an imprint or “tracing” before sinking back in.
For this batch, I actually stirred a bit much and got a thicker trace than I normally would. So, here’s a photo for reference for you visual folks like me, but keep in mind it doesn’t have to be quite this thick:
Up until this point, you were making hot process and cold process exactly the same way. Now, things start to differ a bit after this depending on the outcome you want.
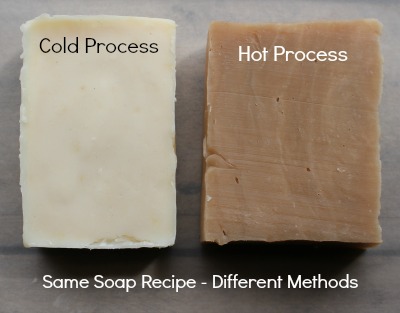
For Cold Process Soap Version:
(Cold process soap is easier and the bars will be smoother, lighter and nicer looking. The drawback is that you have to wait several weeks before using your soap.)
Once trace is reached, stir in the honey and any other additives you’d like such as oatmeal or essential oils. Pour the soap batter in a mold and lightly cover it with a sheet of wax paper. Keep the mold in a fairly cool place and don’t insulate it. You can even refrigerate it for 12 to 24 hours, if you’d like to try to end up with a whiter bar. (I didn’t refrigerate the one shown.)
Once the soap has firmed up in the mold (24 to 48 hours, or longer), remove it from the mold, slice into bars and allow to cure for at least 4 weeks before using.
That’s it for cold process!
For Hot Process Soap Version:
(Hot process soap needs extra cooking and attention, and the bars have a rough, rustic appearance. On the plus side, you can use your soap right away. For a longer lasting bar though, hot process soap still benefits from a few weeks of cure time.)
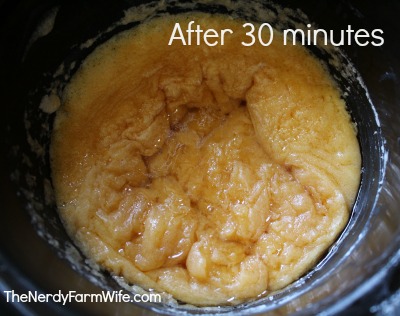
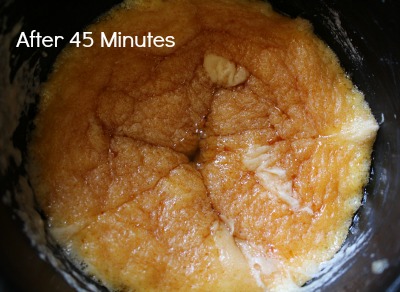
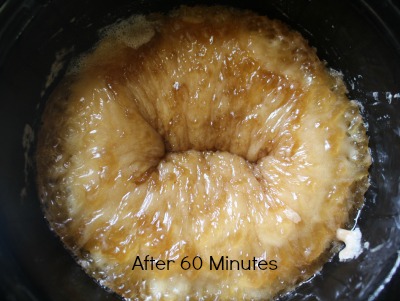
Once trace is reached, pour the soap batter into a crock pot set on low. Cook for 1 hour, checking every 15 minutes of so and stirring each time you do. This is what my soap looked like over that period of time:

Once your soap has cooked for an hour, you can add any extras you’d like to your soap. Mix the honey with the extra 3 tablespoons of water and stir quickly into your hot soap. The extra water helps it stir in without scorching and makes it easier to mix.
Spoon the soap into a mold. I use a glass loaf pan, like I use for baking bread, and line it with parchment or freezer paper. Many of my readers have mentioned that an empty Pringles chip can makes a perfect hot process soap mold. (I haven’t tried that, but it sounds like a good idea if you have one handy!)

Cooked soap will look dark in the mold, but it will lighten up a bit over the next few days. Also note that my crock pot runs on the hot side. I’ve seen pictures of lighter colored hot process milk soaps, so keep your heat low and yours might not be as dark as mine.
Let the soap sit in the mold for 24 hours, then remove and slice into bars. As noted above, hot process soap still benefits from a few weeks of cure time to allow the water to evaporate out, creating a harder, longer lasting bar, but you can still use it right away.
And, that’s it for hot process!
Hakuna maoni:
Chapisha Maoni